Panel settings
All Host Panel settings: what each one does, its default, and why you need to set them on every tablet separately.
In the Host Panel settings, everyone tunes the panel for themselves and for their device: what’s shown on tables, which tabs are needed, how lists look, the theme and the language. This is also where you pick the restaurant and sign out.
How to open settings
- On a tablet or computer — the gear at the bottom of the left column. Settings open on the right, over the list.
- On a phone — the menu button in the header, then Settings at the bottom of the menu.
Settings close with the cross, and also by themselves when you switch to another tab or something else opens on the right: a table, a booking, a guest, a form. On a phone, tapping the dimmed background closes them too. Everything you change applies at once — there’s no Save button.
If something is wrong with the subscription, a ”!” appears on the gear, and the Subscription & account section appears at the top of the settings.
Where settings are stored
- Language is the only setting stored in your account: it follows you to all your devices with the Host Panel and to the previous version of the panel. If you change the language in the Admin, the panel picks it up too.
- The restaurant is remembered on the device, and the Admin in the same browser opens the same restaurant.
- Some behavior is set by the restaurant in the Admin and can’t be changed in the panel: how long a table is prepped before a booking, whether a responsible person is required, how the restaurant assigns tables.
Subscription, restaurant and modes
Subscription & account. It appears only when there’s a problem with the subscription or payment. The owner and the manager see a Pay now button here.
Select restaurant. If you have several restaurants, pick the one you need — “Search restaurant…” searches by name and number. The panel switches at once.
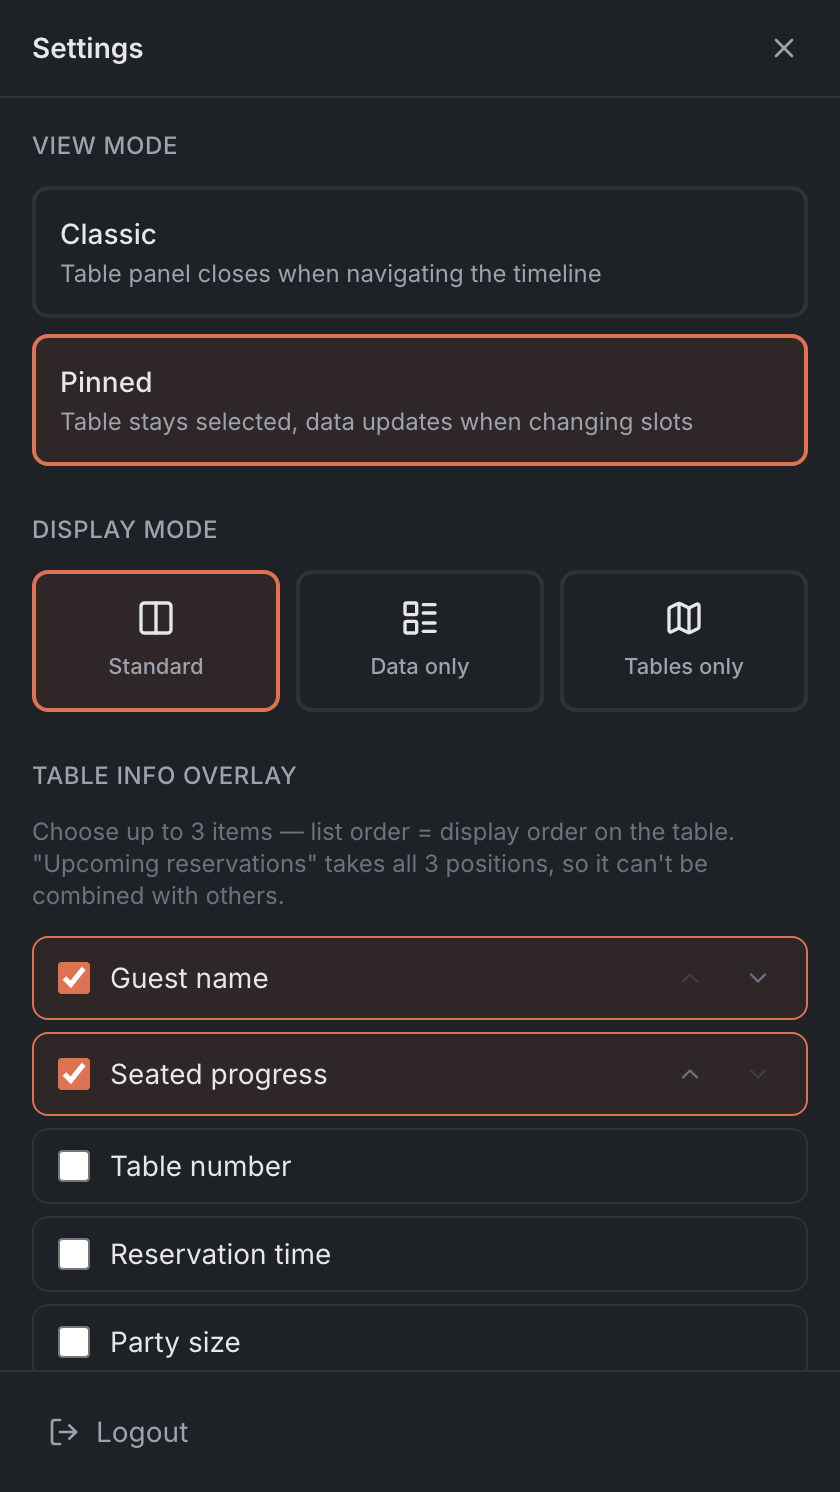
View mode — what happens to an open table card when you move through time:
| Option | What it does |
|---|---|
| Pinned (default) | the table stays selected, and the card’s data changes with the time |
| Classic | the table card closes when you change the time |
Display mode — how the Map tab is laid out. It doesn’t affect other tabs.
| Option | What it shows |
|---|---|
| Standard (default) | the map and the side list |
| Data only | instead of the map — the Reservations, Waitlist, Seated and Servers columns. Handy on a large screen at the entrance |
| Tables only | the map fills the screen, and the right panel appears only when a table or booking is selected or a form is open |
The map and tables
Table info overlay — what’s written on the tables on the map. Tick up to three items: Table number, Guest name, Reservation time, Seated progress, Party size, Dining state. The order in the list is the order on the table; change it with the arrows. Upcoming reservations (up to 3) takes all three places and can’t be combined with other items. Nothing is ticked by default. What it looks like is covered in Floor map.
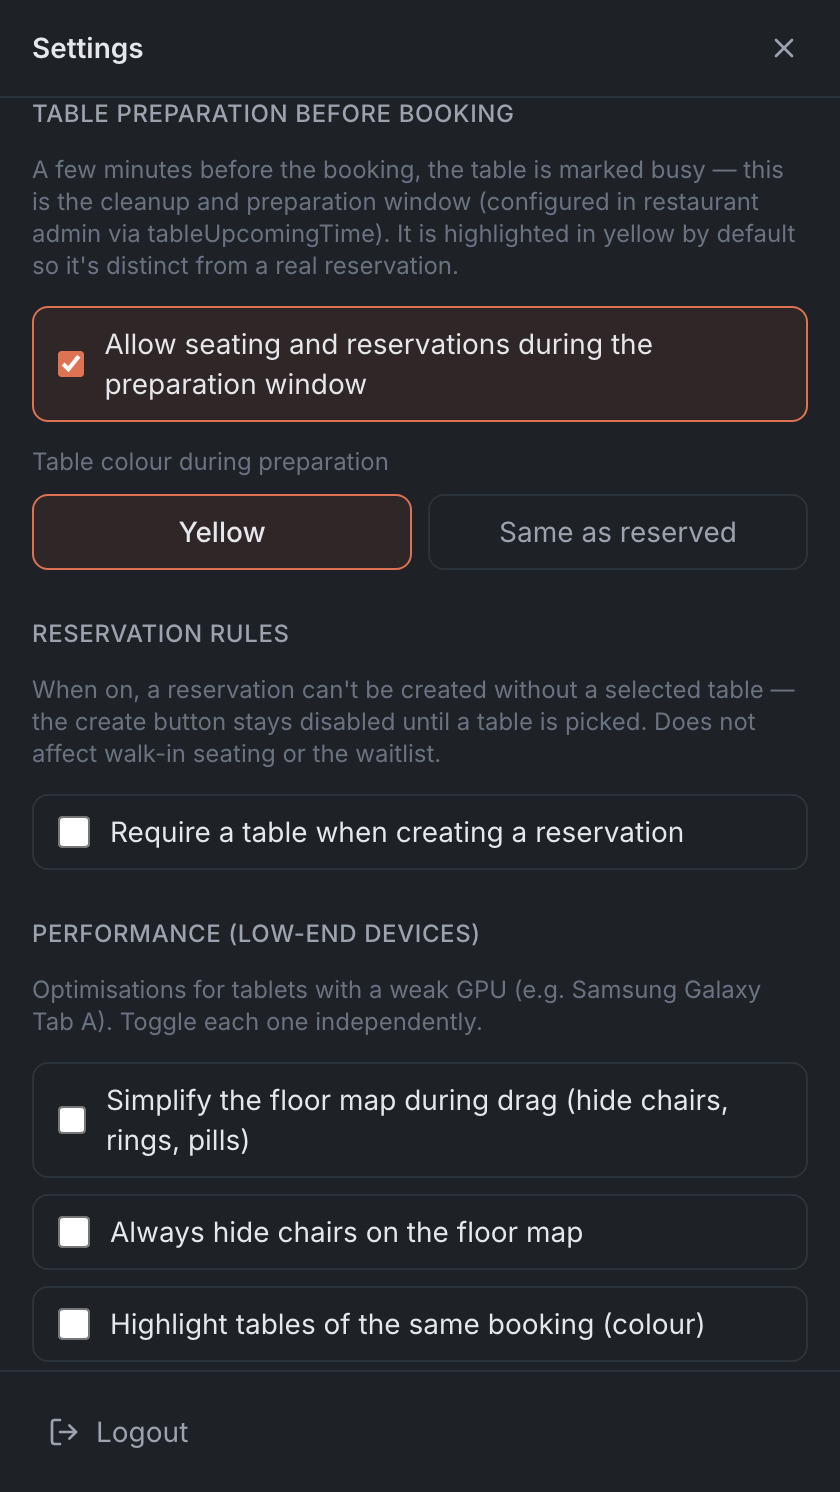
Table preparation before booking. A few minutes before a booking, the table goes into the preparation window. How many minutes is set by the restaurant in the Admin, see Table rules.
- Allow seating and reservations during the preparation window — on by default. Then you can seat a walk-in at such a table or book it — for example, if the guest will leave before the booking starts. Turn it off and a table in its preparation window becomes unavailable. If you then try to seat a guest at such a table, the panel says “Table is being prepped for a booking — enable “Seat during cleanup” in Settings” — it means this very setting.
- Table colour during preparation — Yellow (default), to tell preparation apart from a booking, or Same as reserved.
Guests and the highlighter
Guest tags → Show automatic tags — on by default. Turn it off, and the tags the restaurant gives guests automatically (for example, “regular guest”) disappear from cards, lists and calls. Tags added by hand aren’t affected.
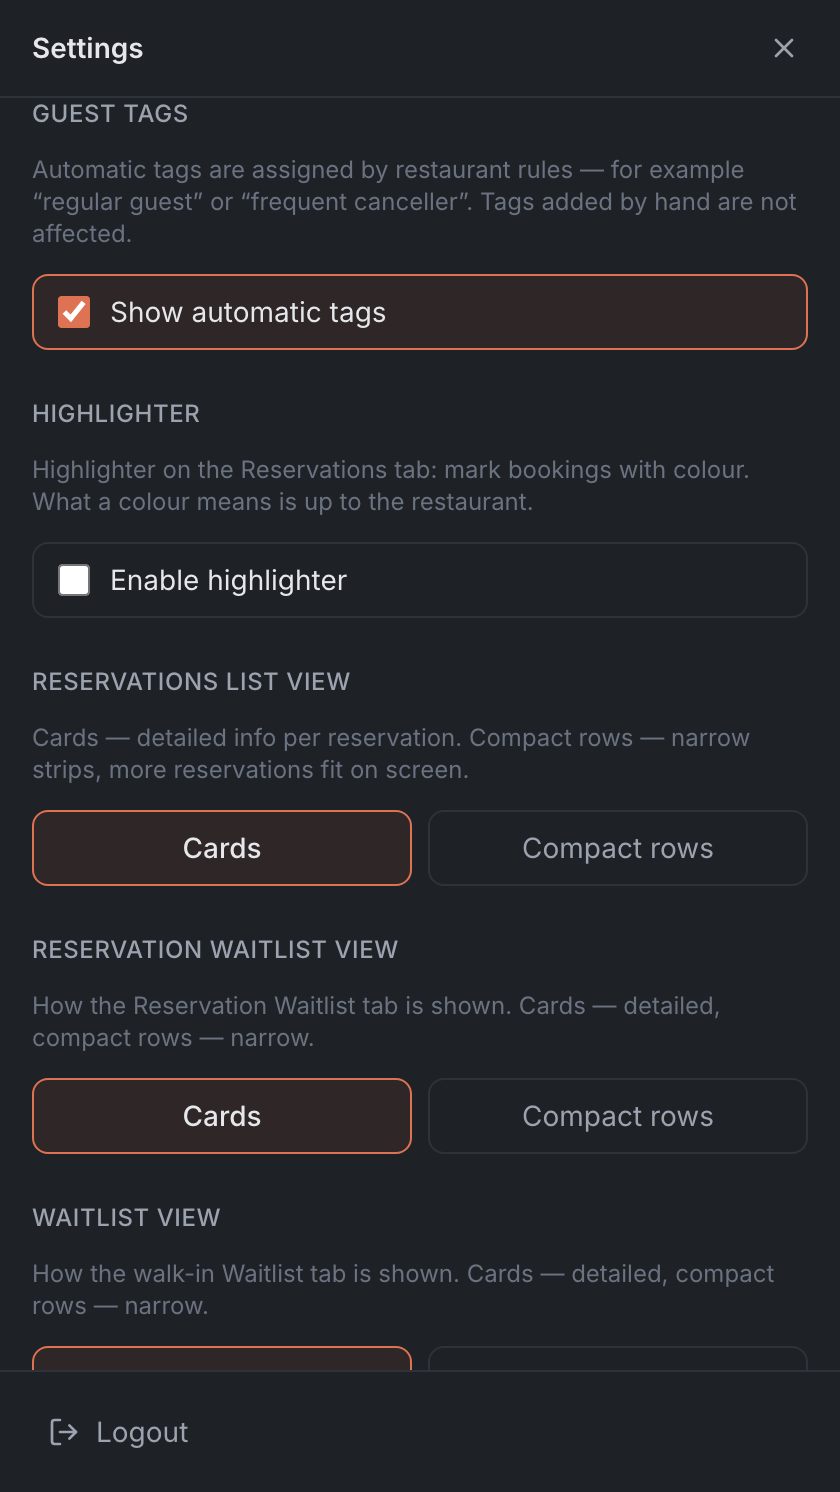
Highlighter — colored marks on bookings, like a highlighter on a paper sheet. What each color means is up to the restaurant.
- Enable highlighter — off by default. Once it’s on, booking cards get a color picker, and lists show the marks in color. If you turn the highlighter off, the marks aren’t deleted — just hidden.
- Three more items appear when the highlighter is on, all off by default: Colour tables on the floor plan, Colour the booking detail card and Colour the table card.
Lists and tabs
List views — Cards (detailed, default) or Compact rows (narrow, more rows on screen), separately for three screens:
- Reservations list view — the Reservations tab. Compact rows have no action buttons — they’re in the booking card;
- Reservation Waitlist view — the Reservation Waitlist sub-tab on Reservations;
- Waitlist view — the Waitlist tab.
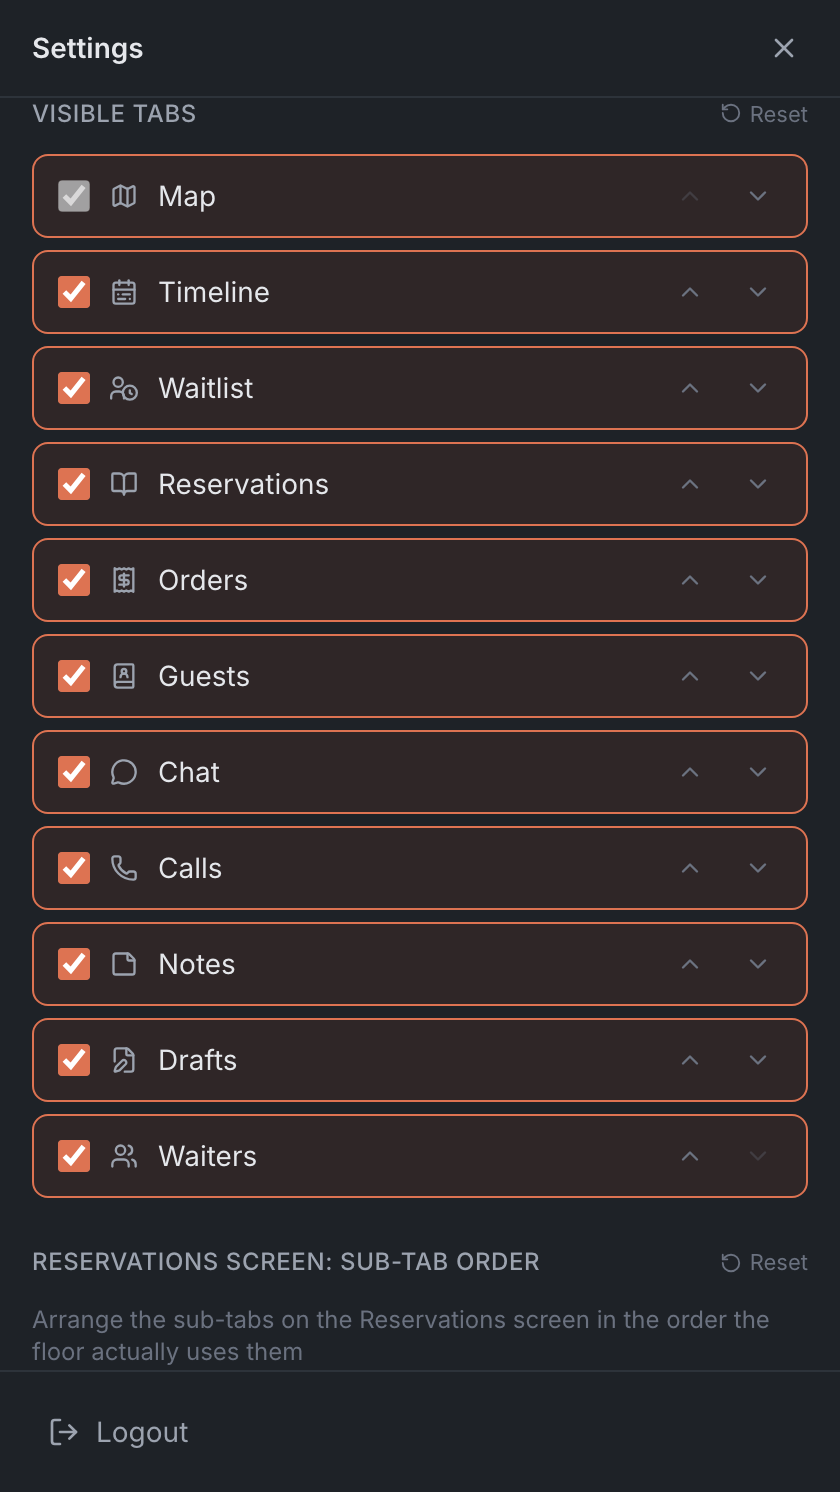
Visible tabs — which tabs to show in the menu on the left and in what order. Untick a tab to hide it; the arrows change the order. Map can’t be hidden. The list may include tabs you don’t have — for example, Servers: ticking them won’t turn them on. Reset restores the original order but leaves hidden tabs hidden.
Reservations screen: sub-tab order — the order of the sub-tabs on the Reservations tab: Confirmed, Requests, New online, Reservation Waitlist, All, Closed. They can’t be hidden here, only rearranged. Reset restores the original order.
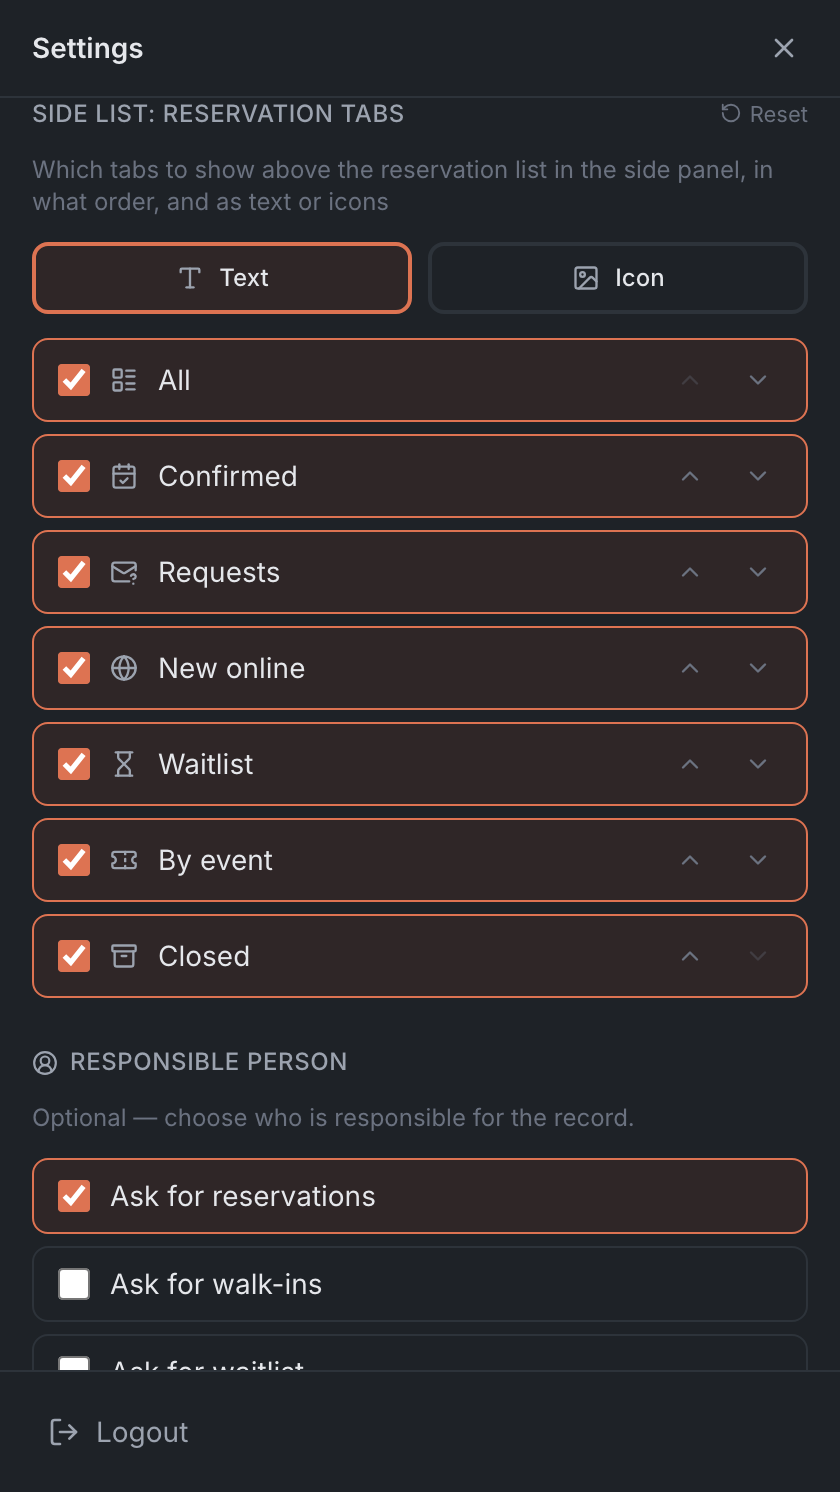
Side list: reservation tabs — the sub-tabs above the booking list to the right of the map:
- show them as Text (default) or Icon;
- hide the ones you don’t need — one has to stay: “Keep at least one tab visible”;
- change the order with the arrows.
Here Reset restores everything at once: order, visibility and style. More in Side list.
Bookings
Reservation rules → Require a table when creating a reservation — off by default. Turn it on, and a new reservation can’t be created without a table. It doesn’t affect walk-ins, the waitlist or editing a booking. It has no effect if the restaurant assigns tables automatically, allows bookings without a table or has turned off table selection. See Creating and editing a booking.
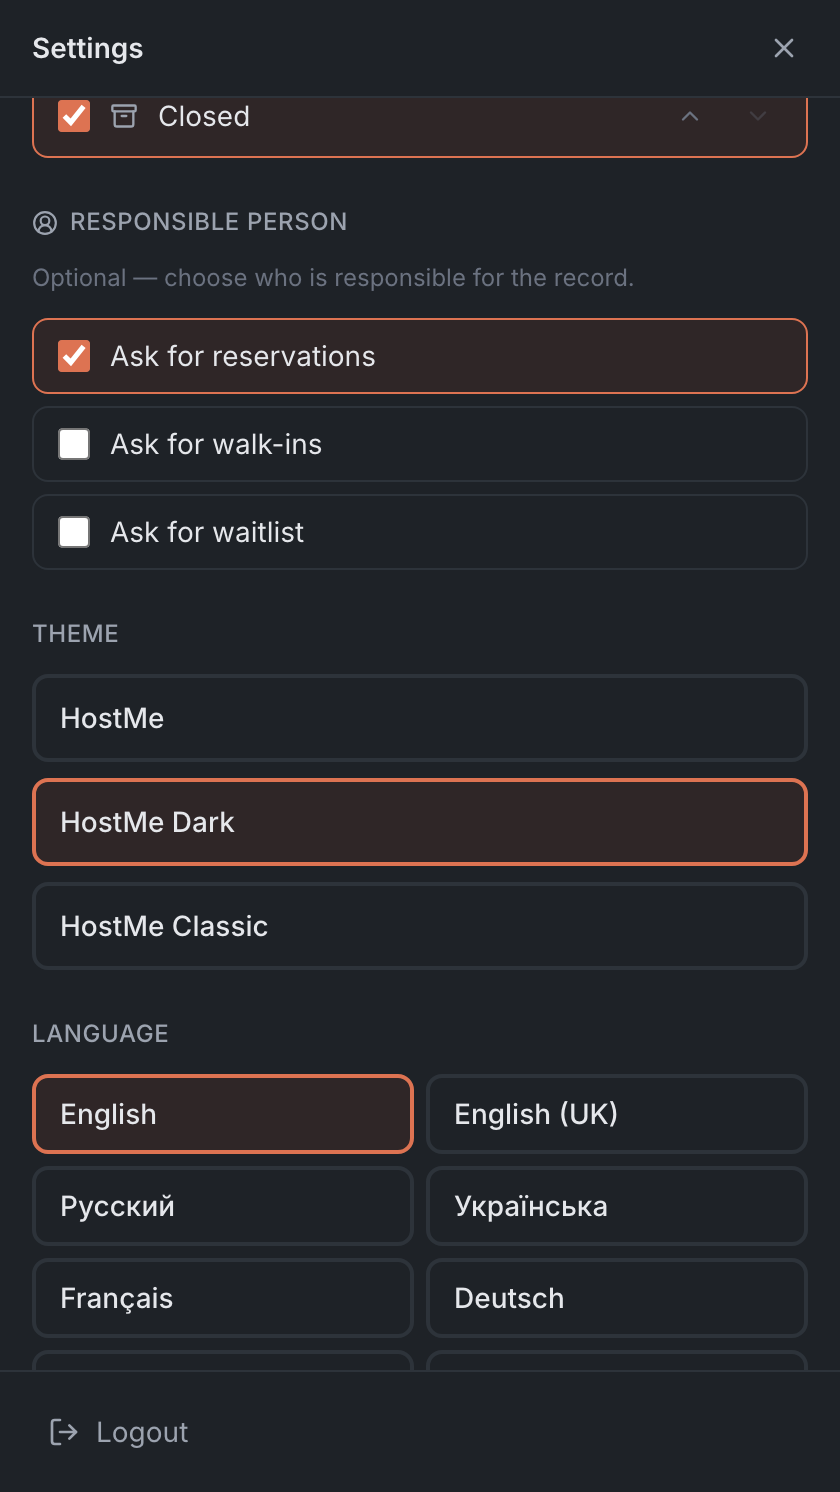
Responsible person — appears if the restaurant keeps a staff history in the Admin. Tick where to ask which staff member created the entry:
| Item | Default |
|---|---|
| Ask for reservations — reservations and the reservation waitlist | on |
| Ask for walk-ins — seating without a booking | off |
| Ask for waitlist — the waitlist | off |
If the restaurant requires a responsible person, the section reminds you: “Required by restaurant settings — choose a responsible person before saving.”
Performance
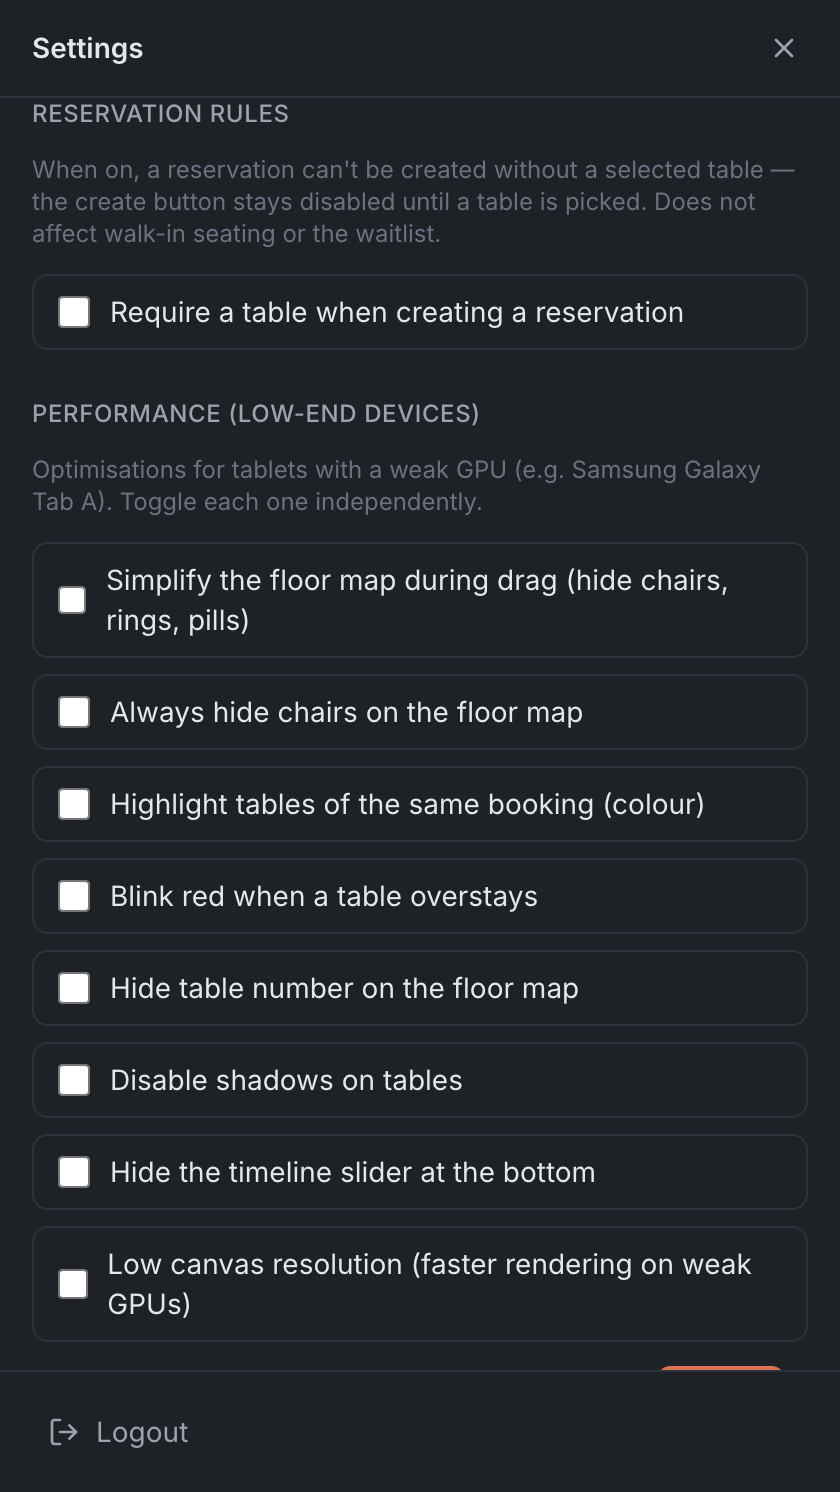
Performance (low-end devices) — for when the map is slow on a tablet. All items are off by default and turn on one by one:
| Item | What it does |
|---|---|
| ”Simplify the floor map during drag (hide chairs, rings, pills)“ | while you drag a table, the map is drawn more simply |
| ”Always hide chairs on the floor map” | no chairs around tables |
| ”Highlight tables of the same booking (colour)“ | tables of one large booking are outlined in one color |
| ”Blink red when a table overstays” | a table where guests stay longer than planned blinks red — only at “now" |
| "Hide table number on the floor map” | no numbers on tables |
| ”Disable shadows on tables” | tables without shadows |
| ”Hide the timeline slider at the bottom” | no time strip at the bottom — move through time with the ← and → keys or pick the time in the header |
| ”Low canvas resolution (faster rendering on weak GPUs)“ | the map is drawn at a lower resolution — a little less sharp, but faster |
Low resolution fully applies after a reload — there’s a Reload button at the bottom of the section for that.
Theme and language
Theme:
| Theme | What it is |
|---|---|
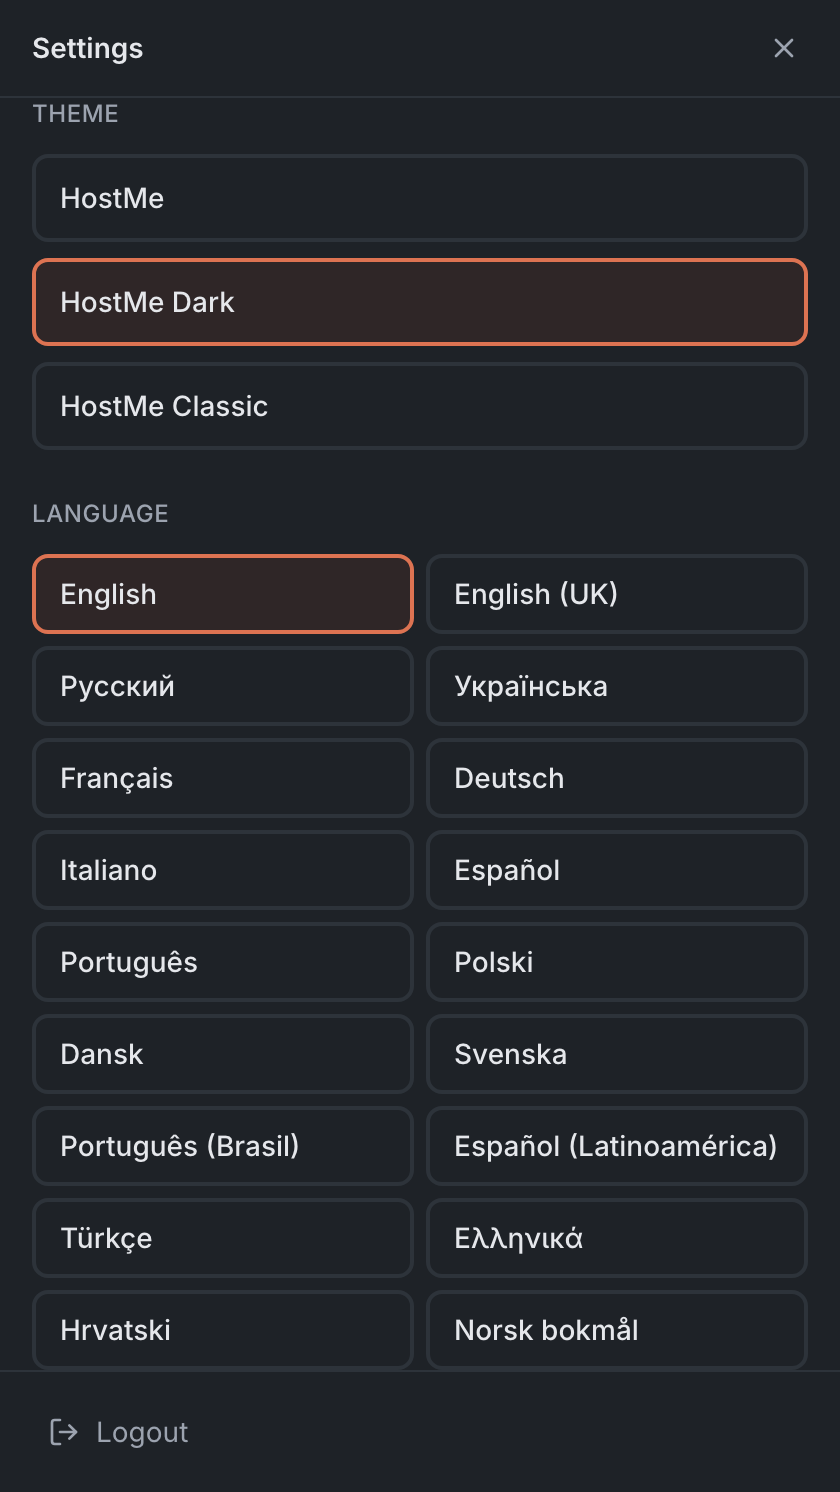
| HostMe | the light theme, default |
| HostMe Dark | the dark theme — easier on the eyes in a dim room in the evening |
| HostMe Classic | looks like the previous version of the panel: different icons, its own table card, bookings in a full-screen window |
If you opened the panel from the Admin in the same browser, the panel picks the theme by itself on first launch: HostMe Classic for people coming from the previous version, and light or dark, as in the Admin, for everyone else. After that, the theme is stored on the device.
The first time you turn on HostMe Classic, the panel arranges the tabs in the familiar order of the previous version. If the Notes tab disappears after that, reload the page. Table colors differ between themes — see Floor map.
Language — 22 languages. The language is saved in your account and follows you to all your devices with the Host Panel.
Below are the Open Admin panel and Switch to Classic version links — the latter is the previous Host Panel. Both open in a new tab. How to switch between versions is covered in the New Host Panel guide.
Signing out
The Logout button is at the very bottom of the settings — it isn’t anywhere else. Signing out of the panel also signs you out of the Admin on this device.